
I spent ages searching the internet for snow globe card supplies only to find that there doesn't seem to be anything out there. So I decided to make my own using yoghurt and cream pot lids.

Not all lids are suitable as some have embossed writing on them (I've spent ages in the chilled aisle searching for the perfect lid! lol). If you are in the UK you want Rachel's Yoghurt, the lid is a perfect fit for the 2nd largest circle Nestie!! That's the lid on the left in the above pic and the one that I have used. The other two lids on the right are from Tesco cream but they are slightly frosted but they do have a perfect dome! If you do use them they need to be cut a little differently.
Let's get started. Before you begin, have a good look at the lid, you don't want to use it as it sits on the tub, you want to turn it over to make the dome.
First cut off the outer edge, I've marked the cut line in black:


once cut it should look like the one on the right

close up and side view

Next and most important, wash the lid with hair conditioner or fabric softener to prevent static when you add glitter or Flower Soft to your dome. Rinse well and dry but not too vigorously as you don't want static to build up.
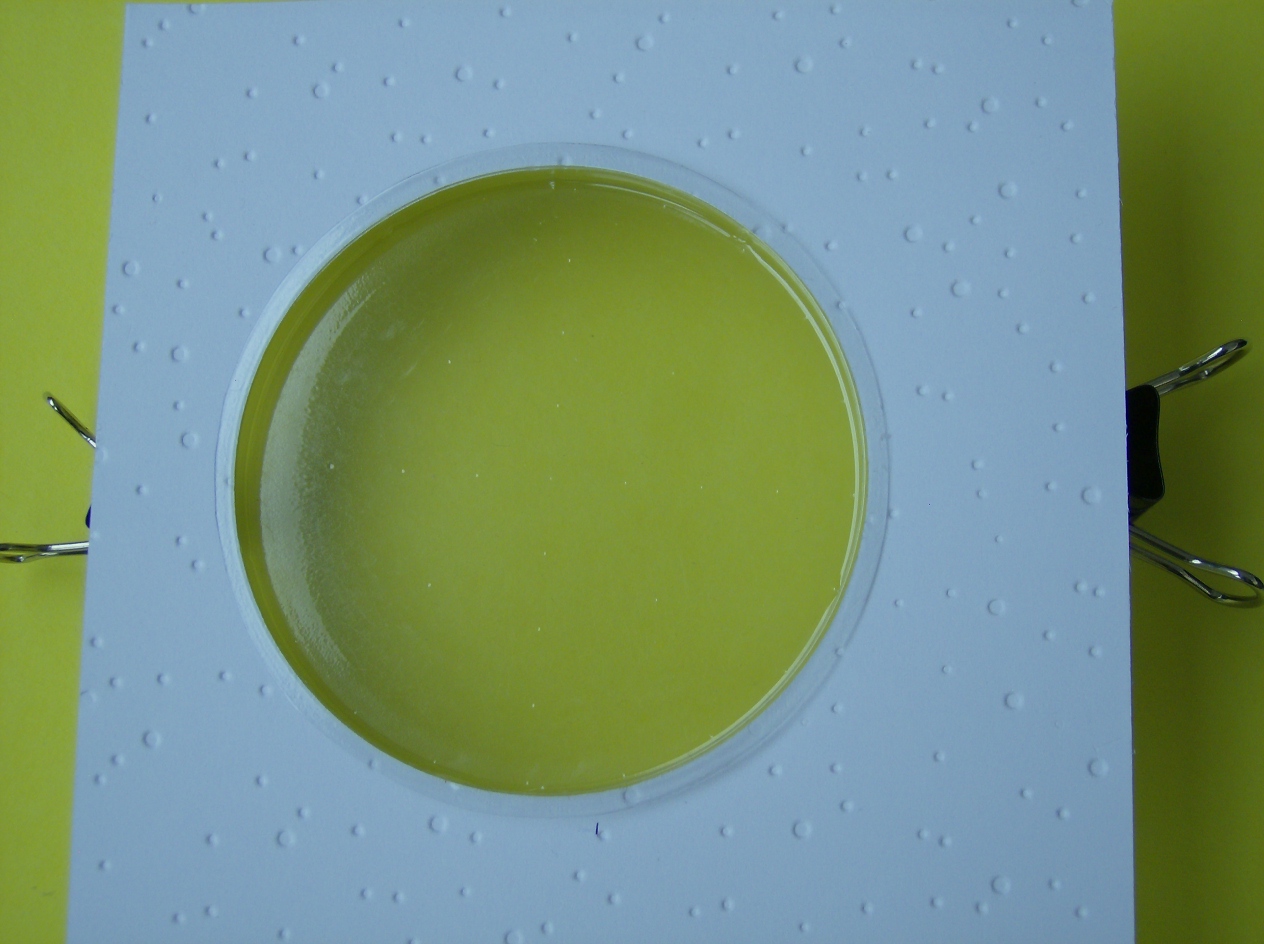
Cut a circle into a piece of card and lay the lid/dome into the hole. The lip on the edge of the dome prevents it from falling right through and will also be your glue area. Make sure it sits nice and flat, if the hole is too small for the dome, it won't sit flat!
Before you glue it in place, prepare your backing. Remove the dome and place the backing in the right position, lightly draw a circle to mark the placement as this will give you a guide for where to glue later.

Colour and finish your image.
You are now ready to glue the done in place. Put glue all around the rim

Drop the dome back into the hole and let dry. Side view


You can seal any gaps on the front/right side around the dome, with Stickles.
Closeup of my finished card:

And that's it! Simple! If you do make a snow globe card using my method please leave me a message, I'd love to see how yours turns out. I hope I have documented all the steps but if I have left anything out please leave me a message.
Have fun!
~A


1 comment:
Amazing Amanda. Thanks for sharing all the steps. I'd love to try a shaker card sometime.
Post a Comment